Alright, so here's my overview of the Arri SR2.
Enjoy.
INTRO
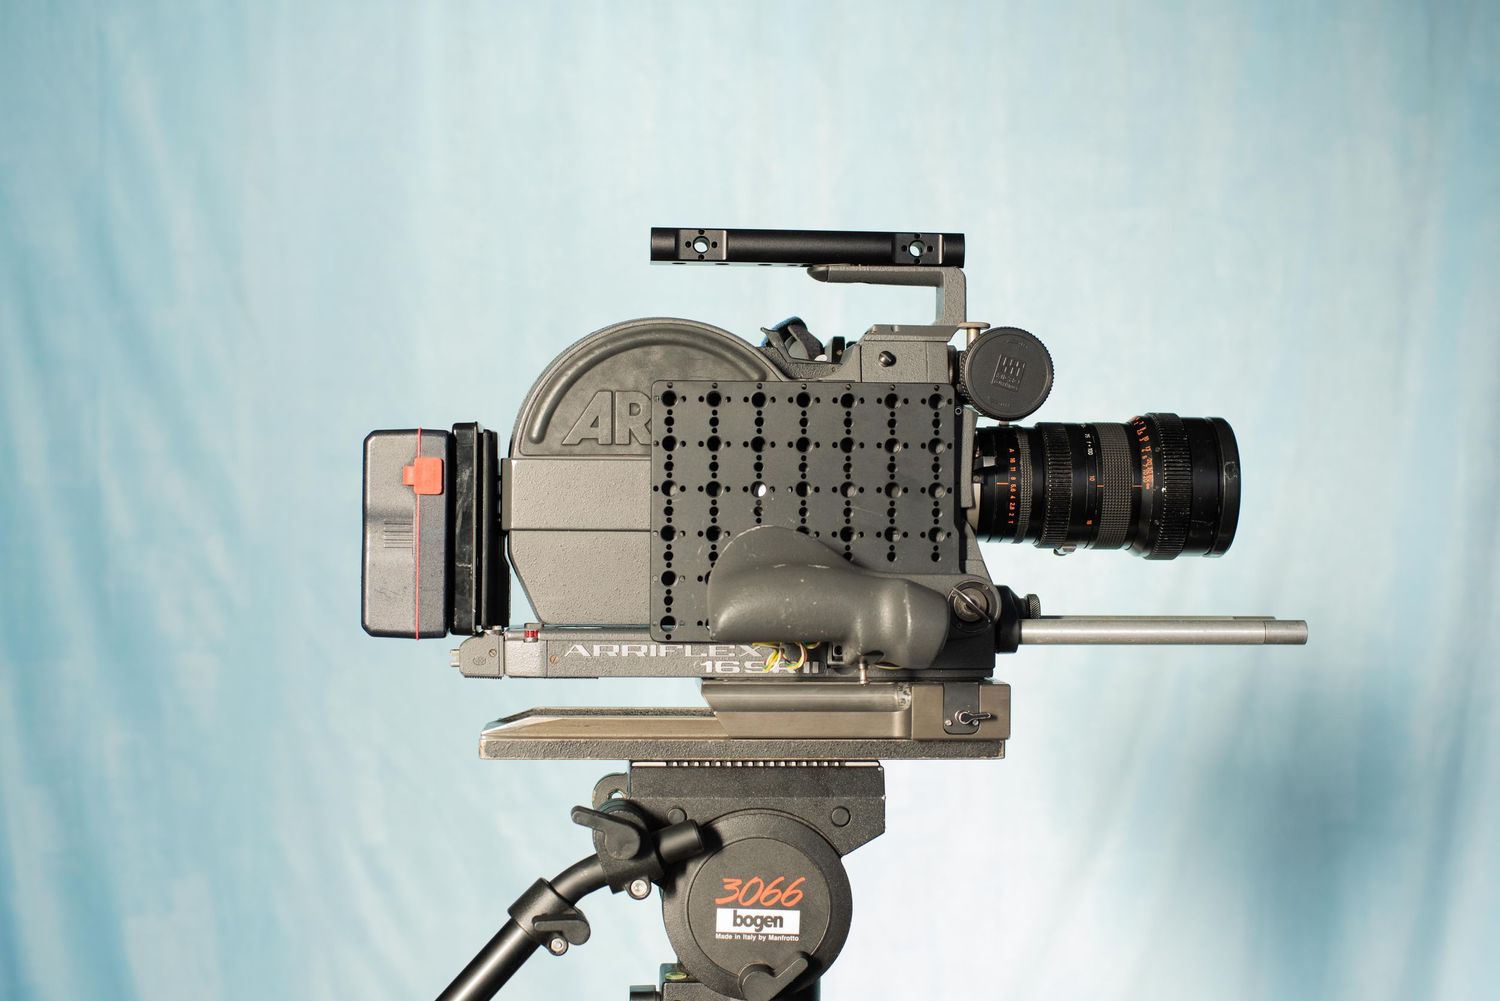
The Arriflex 16 SR2 (or more correctly, SRII) is a German made 16mm motion picture film camera that was introduced in 1982. It's the second generation of the SR product line consisting of; the SRI (1975), SRII, and SR3 (1992). The SR stands for Silent Reflex, which refers to the quiet operation level (~30dB), and the reflex viewing system, which uses mirrors to make it possible to see through the lens from the viewfinder. Arri SR cameras were used in whole or part to shoot the films, JFK, Clerks, Beasts of the Southern Wild, Super 8, and more.

Camera Body
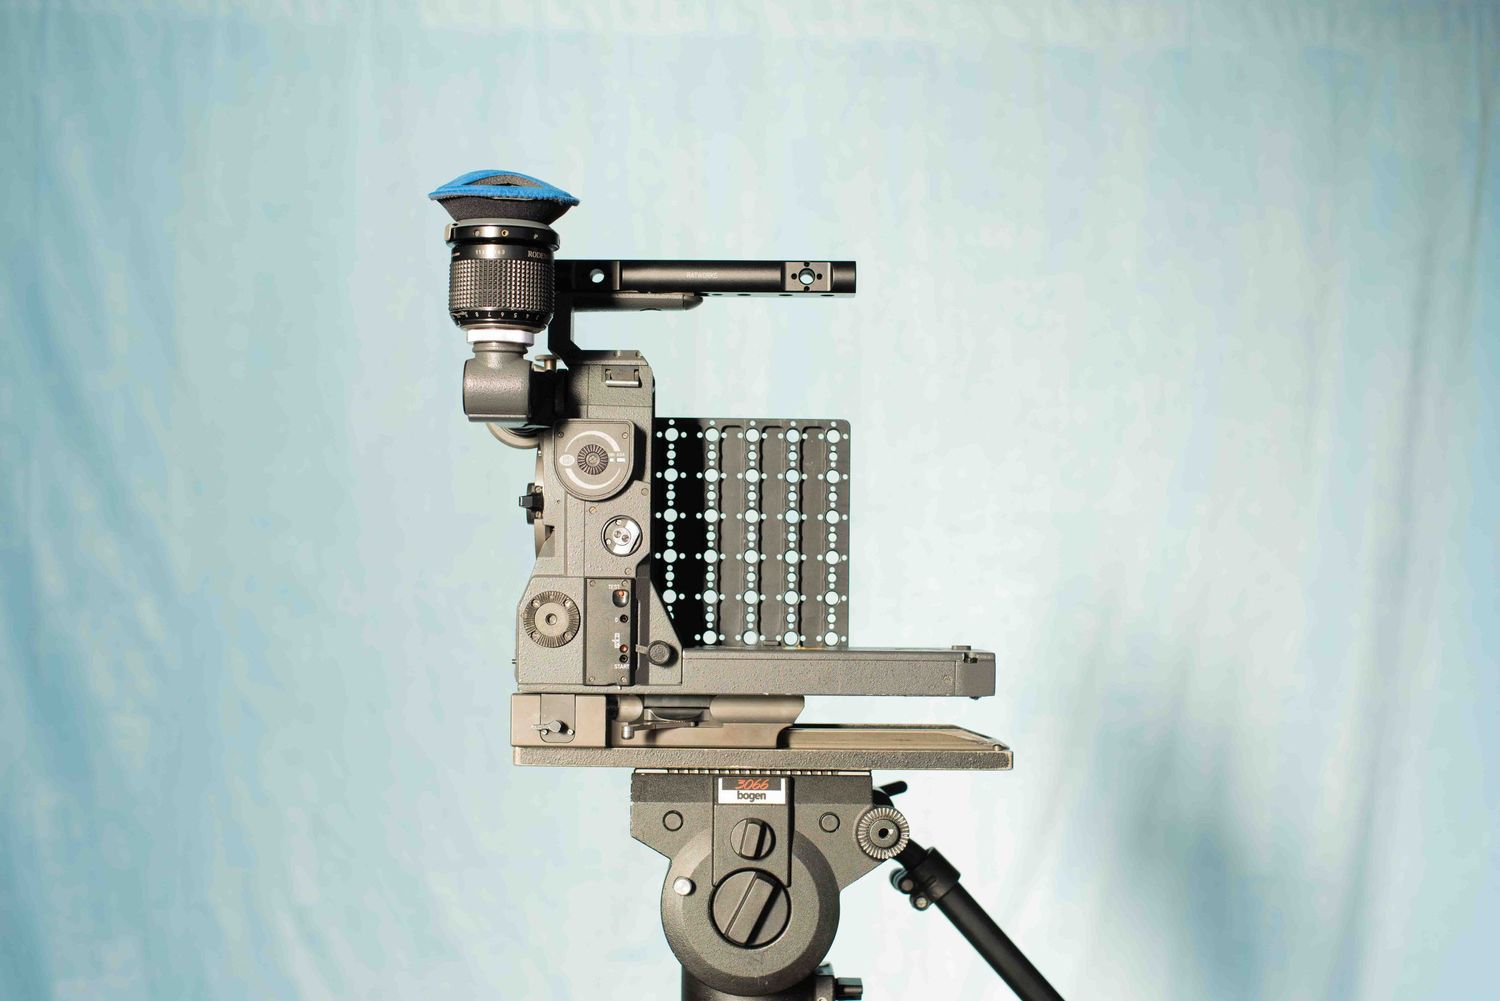
The Arri SR2 body looks nothing like modern digital cameras. There's no lcd screen, no menus, no built in filters –there's hardly even a button. It's just a simple machine, built (like a tank) for one purpose, to capture images with precision and reliability.
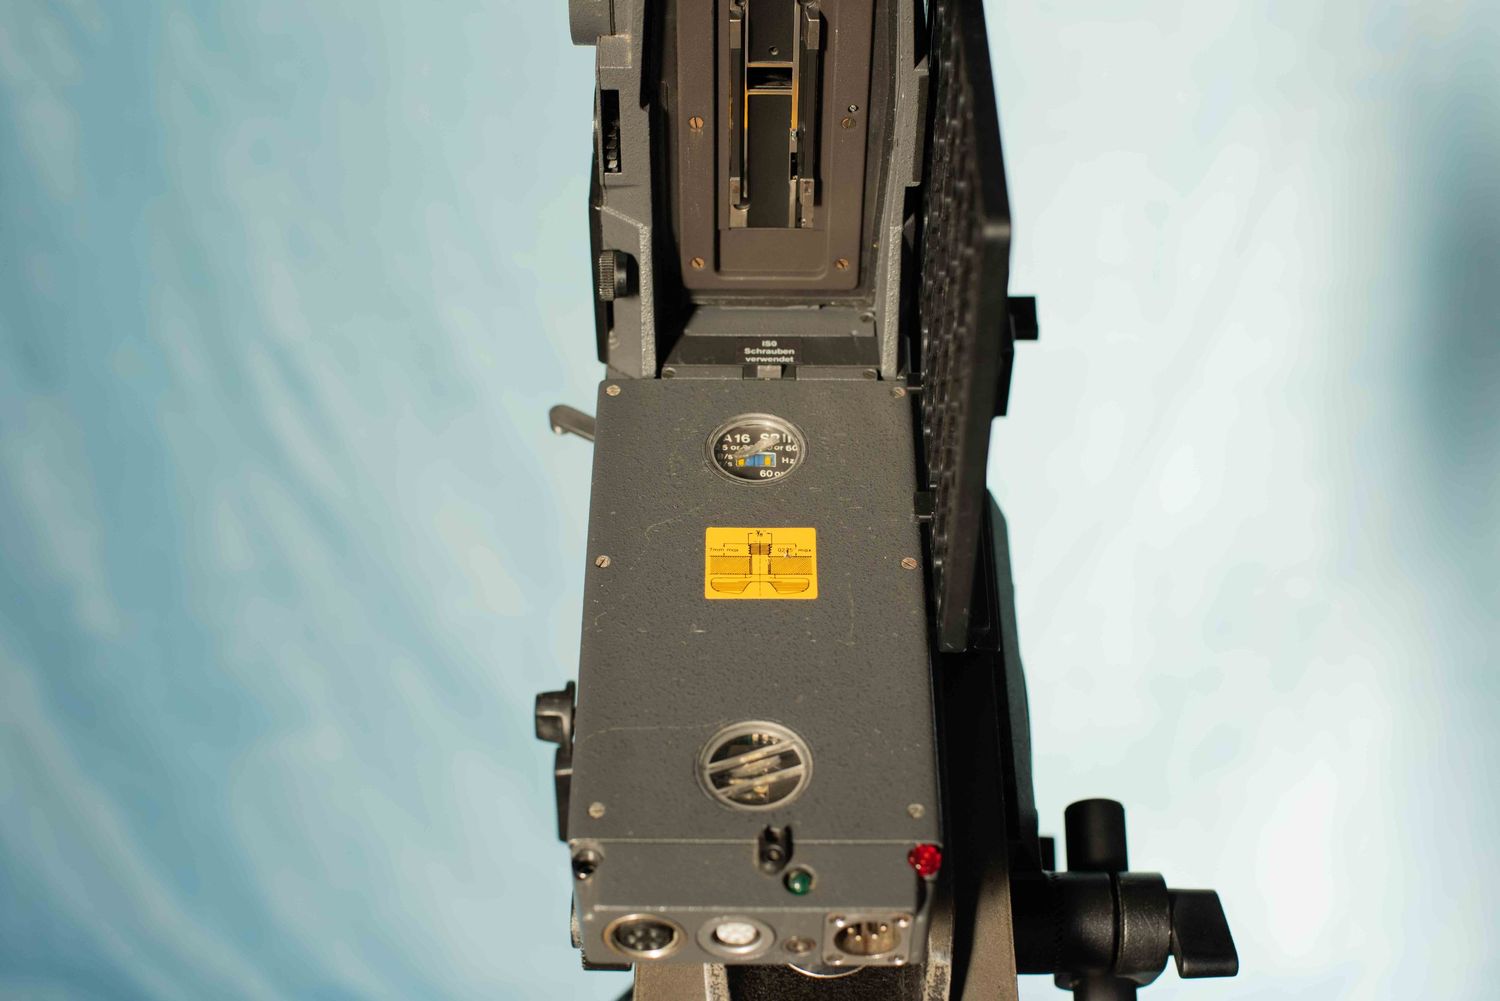
The camera body is composed of two main parts, the base and the tower. The base of the camera houses the electronics and I/O ports, with the motor sitting in the tower where it connects to the base.
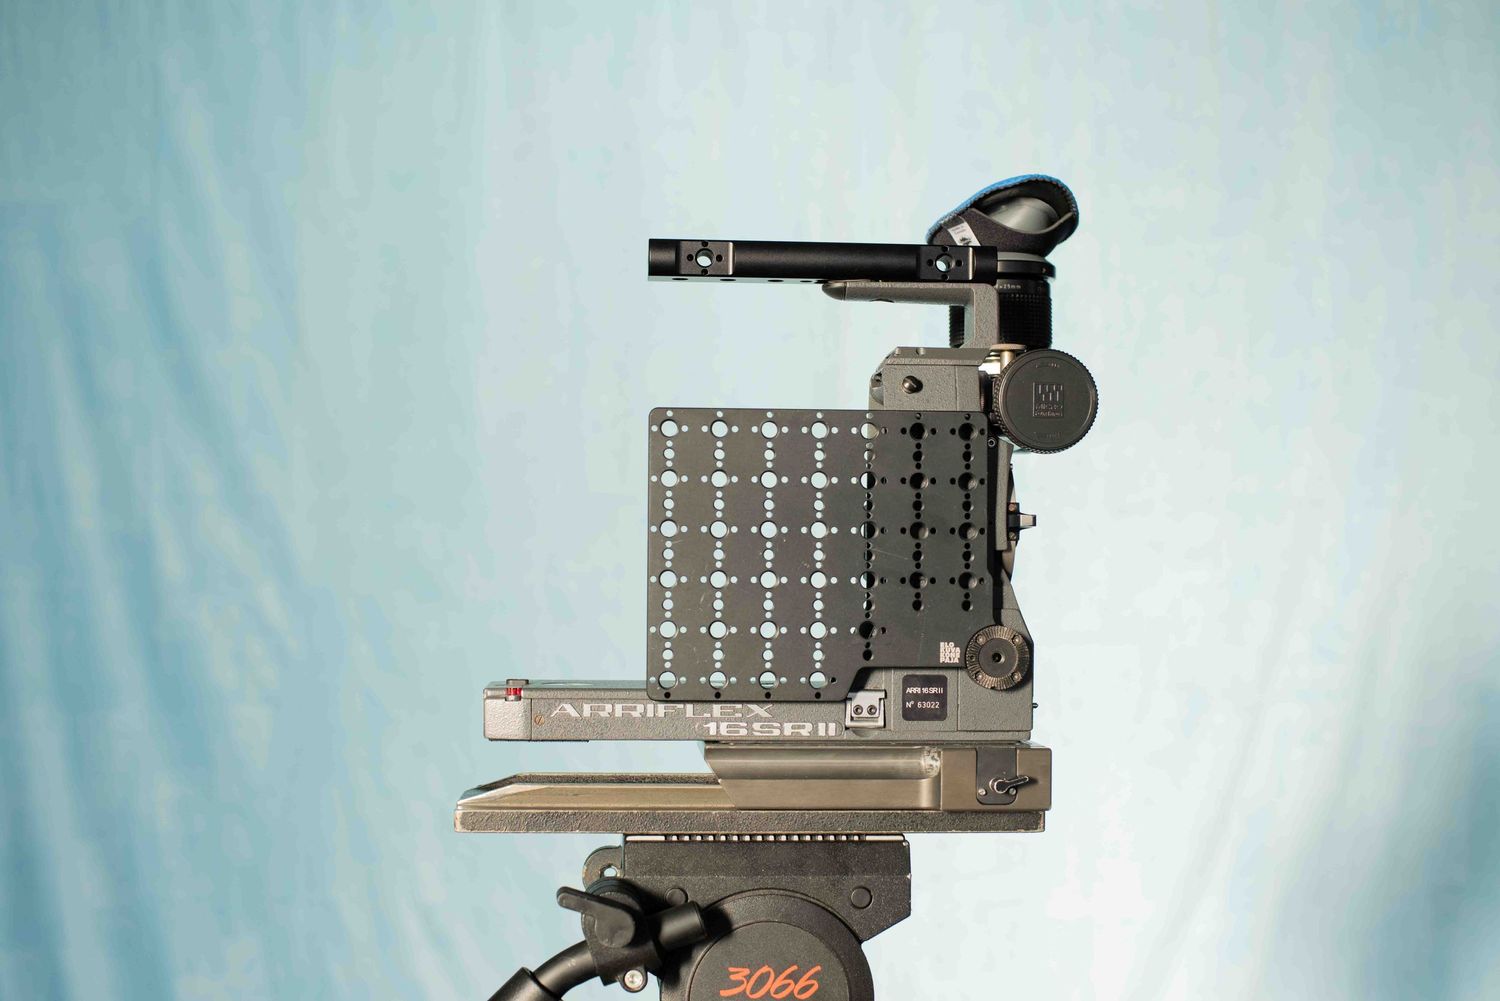
Components of the tower include: the control panel, hinged (inching) knob, light meter, top handle, film gate, and lens mount.

Control Panel
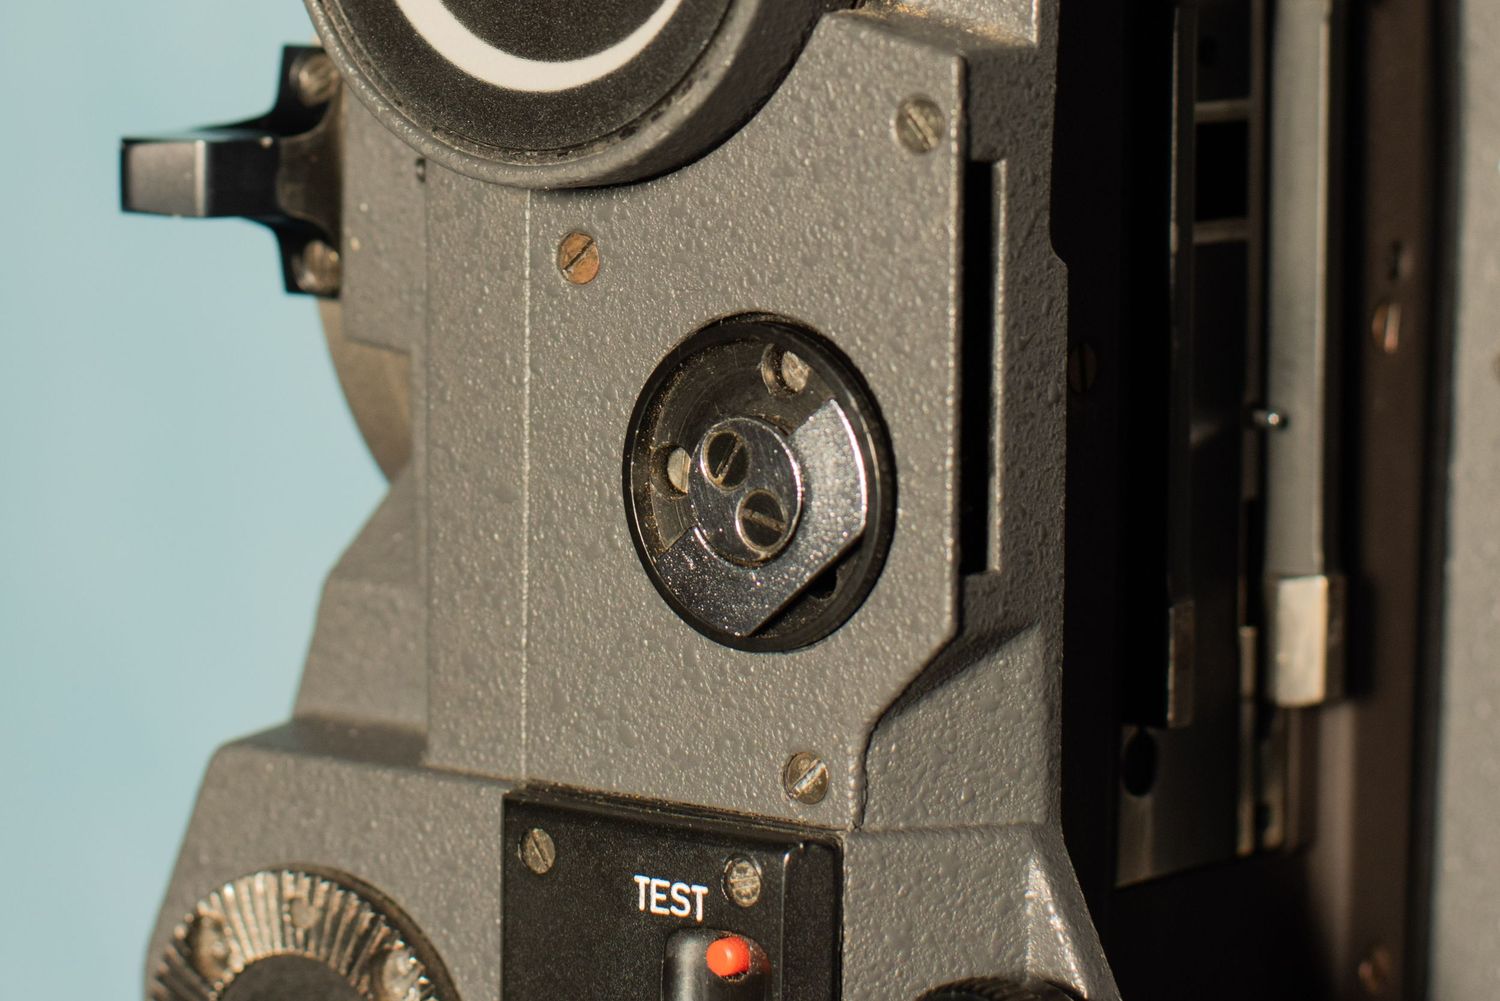
The control panel has a lever that can be placed in three positions, off/stop, standby/accessory, or start. There is a small metal pin lever on the bottom of the control panel that when flipped, stops the lever, and can prevent accidentally starting the camera.

The test button slowly activates the operation of the camera. This is used to inch the film forward and make sure its engaged by the pulldown claw correctly before running the camera at full 24fps speed.
In the accessory position the camera can be controlled remotely by the start-stop handgrip
Hinged (inching) Knob
The hinged knob can be manually adjusted and engages the entire system when rotated. by turning it, one can slowly see the movement of the machine. The mirror shutter spinning, the sprocket wheel turns, and the pulldown claw engages.

Light Meter
The light meter takes light views through the lens and displays the exposure through the viewfinder. It is notorious for not being very accurate, and I've found it difficult to use. The exposure indicator bounces up and down as the light is repeatedly blocked by the rotating shutter when the camera is running. An external light meter for gauging accurate exposure.

Top Handle
The top handle is short and stubby and one of the things I don't particularly love about this camera. It's a heavy body, about 15-20lbs when fully loaded, and the small handgrip doesn't comfortably fit all four fingers needed to grip and lift it properly. This, along with claiming the single mounting point on the camera body, is why I've opted for a third party top handle from Elokuvakonepaja (hint, use my code "nkosiroma" at checkout for a small discount on most items).

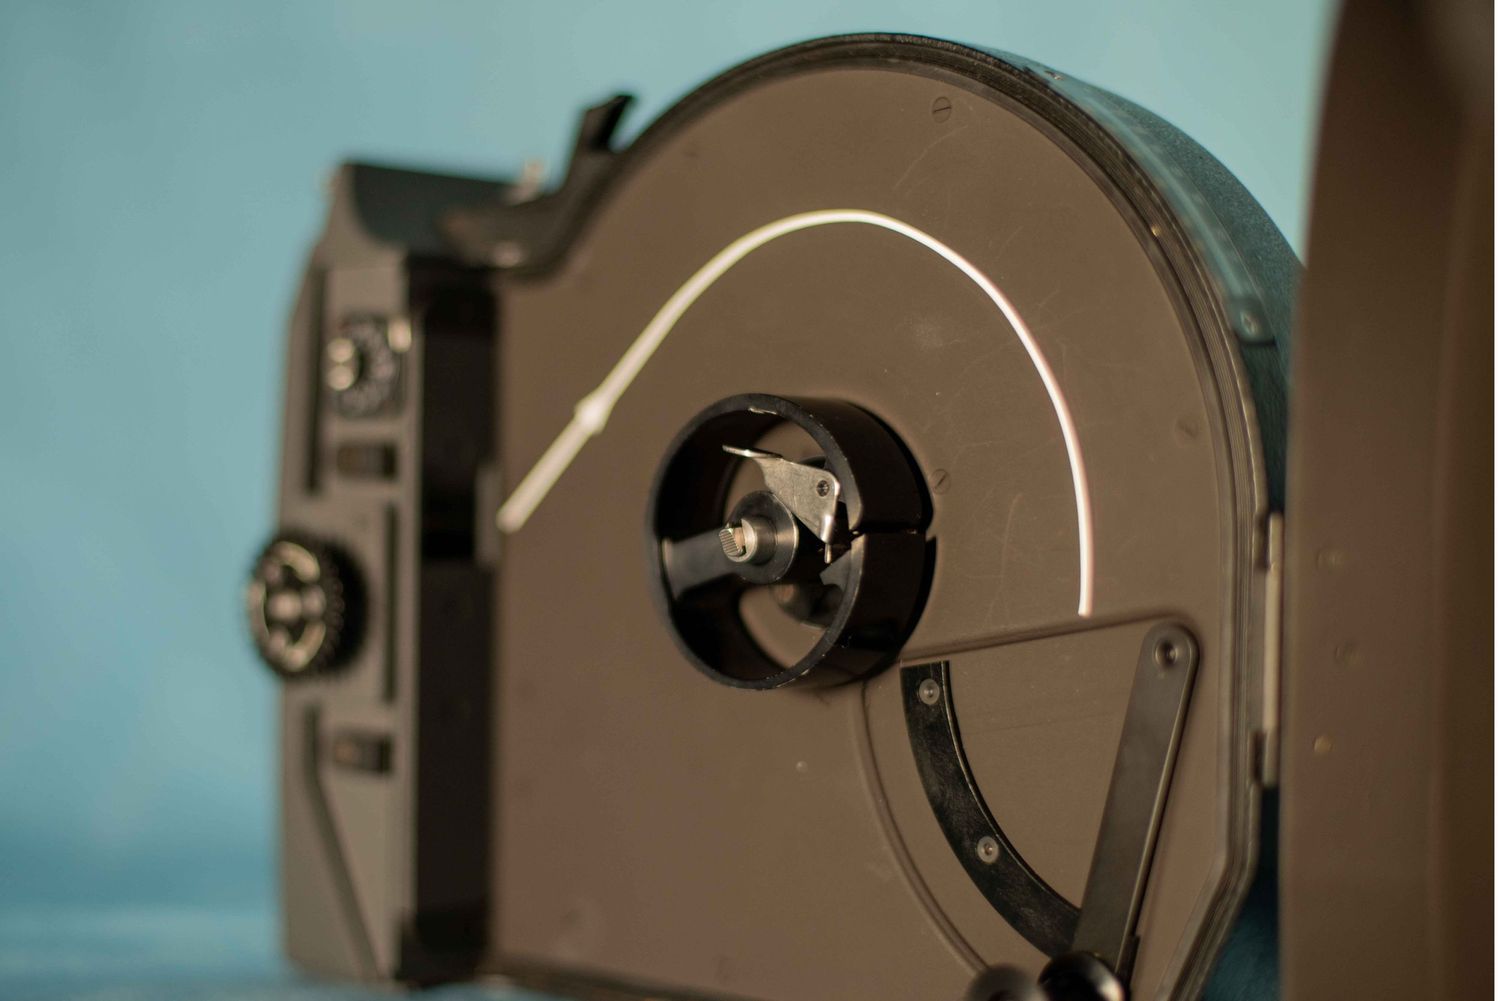
Mount and Mirror Shutter
The SR2 has a standard 54mm PL (Positive Lock) lens mount. Looking through the open mount, you can see the half moon shaped mirror shutter. As the camera operates, the shutter spins and each time it clears the gate a frame of film is exposed. While the shutter is over the gate, the mirror is bouncing light up to the viewfinder. At 24 frames per second, you can see flickering through the viewfinder as almost half the time the shutter is not in position to reflect the light to the eyepiece.

Film Gate
This is the window in which the frame of film can be exposed. On standard 16mm cameras, this window creates a 4:3 aspect ratio, or more square-shaped, whereas, a super 16 camera features a widened gate that exposes a more rectangular, 16:9 frame.

Because the gate is behind the shutter, it isn't visible in the viewfinder, which means anything like dust or a hair, wouldn't be seen through the lens, but would appear in the final image. The gate must be kept clean with a brush to ensure no unwanted artifacts affect the film.

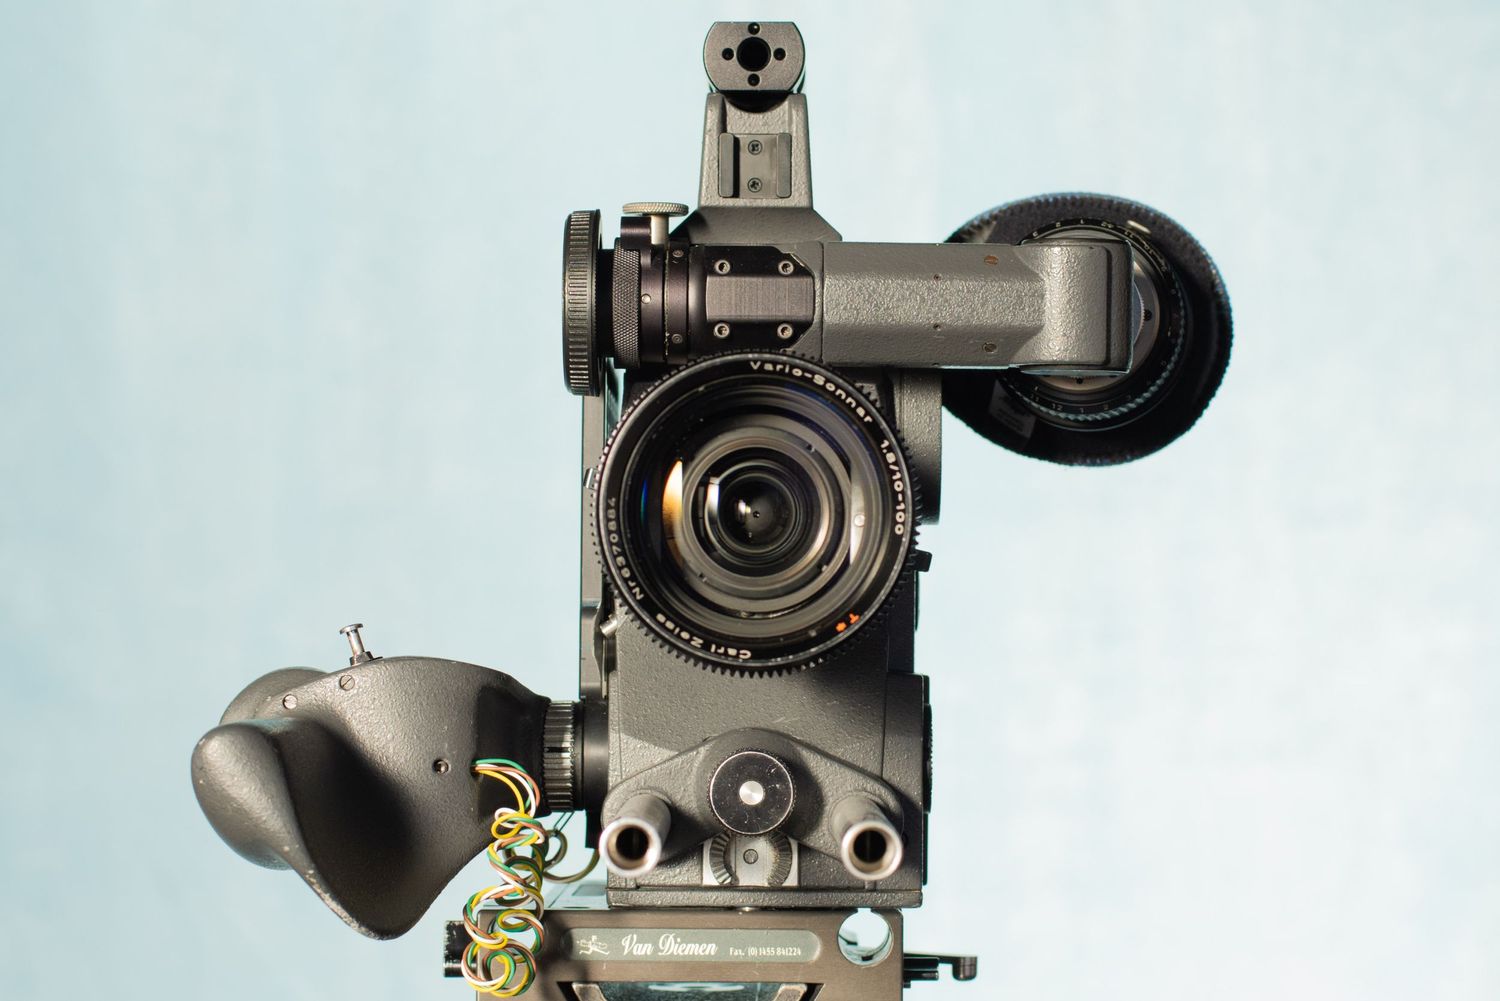
Multi-Directional Viewfinder
Using a series of mirrors, the viewfinder produces an upright image regardless of its orientation. It can rotate in, out, up, down, and over to the other side of the camera for left-eyed operation.

Diopter
The diopter allows eye-specific focus adjustment to the ground glass and frame lines. As a glasses and contacts wearer, I can adjust the diopter to compensate for my nearsightedness and operate with my naked eye if I wanted to.
– It's trippy to be able to see better through the camera than with my normal vision!

Viewfinder Shutter
I don't know the correct name for this part, but its purpose is to prevent light from fogging the film when the user's eye is not against the viewfinder. Since the mirrors see both ways, light can get in through the viewfinder and cause unwanted light leaks.

Video Tap
The light is split by a prism and sent two ways, one to the viewfinder, and the other to an optical block for an external video tap. I currently have an old CEI Color IV video tap, but since its almost as old as the camera, it doesn't output an HD signal. While I'm exploring video tap solutions, I keep a custom cap on the optical block port to prevent light leaks.
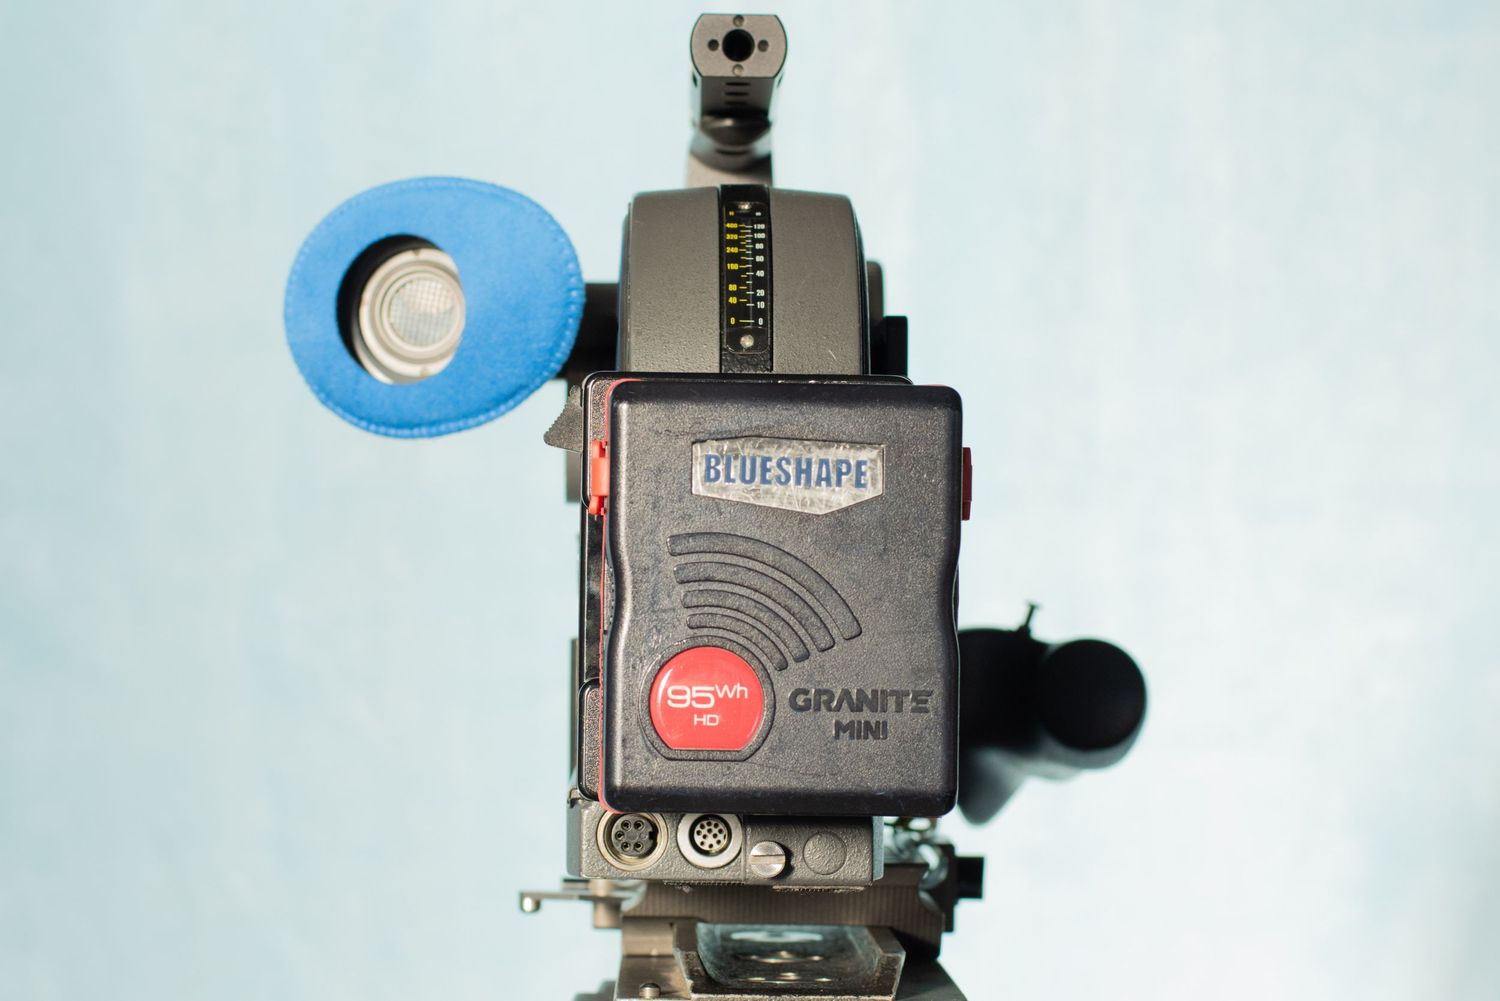
Battery
The battery pictured is a modern gold mount battery by Blueshape. It's been adapted to work with the camera and replaces the older batteries.
The original SR batteries don't have the modern features most Gold or V-mount batteries do, such as D tap outputs, battery life indicators, and definitely not built-in wifi!
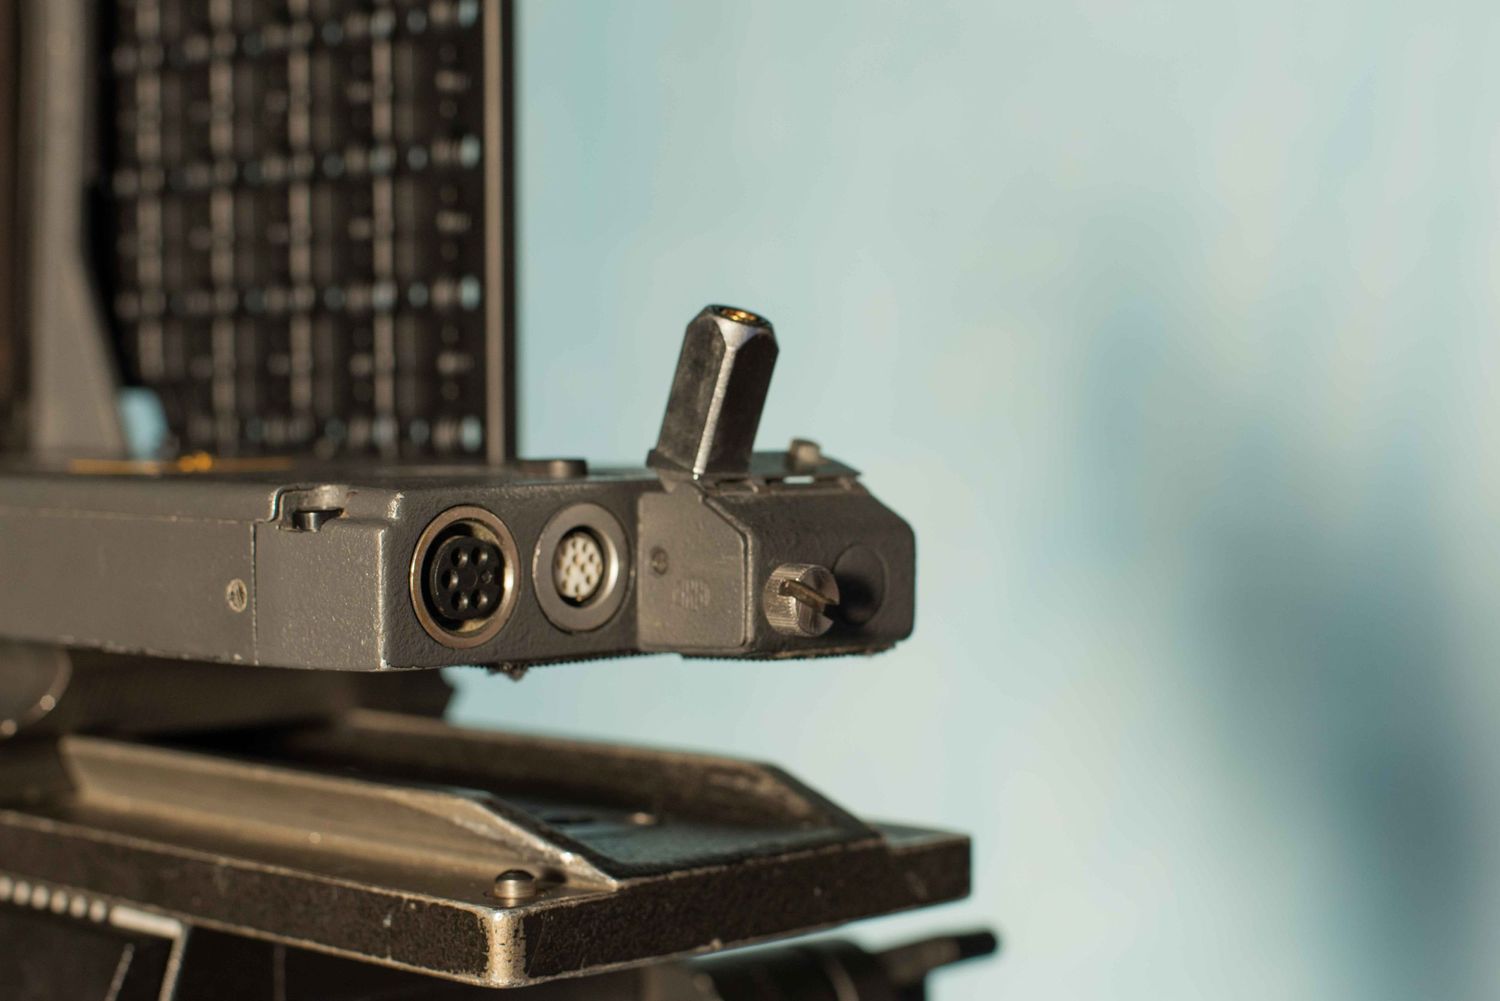
Onboard Adapter
The onboard adapter connects to the camera via a 4 pin female XLR plug and is secured by a thumbscrew. The adapter has a hinge which allows the battery to remain connected when changing magazines.

Battery Plate
My SR2 is powered by a regulated 12v battery solution that utilizes the rear casing of an original SR2 battery (with the magnet back), and a gold mount plate.
If you're an SR2 user and interested in learning more about this solution or making your own, feel free to shoot me an email at nkosiroma@gmail.com.

FILM CARE
Film is light sensitive material and all non-daylight reels must be loaded in complete darkness. The feed side of the loading process is done in a changing bag and the rest can be done in the light.
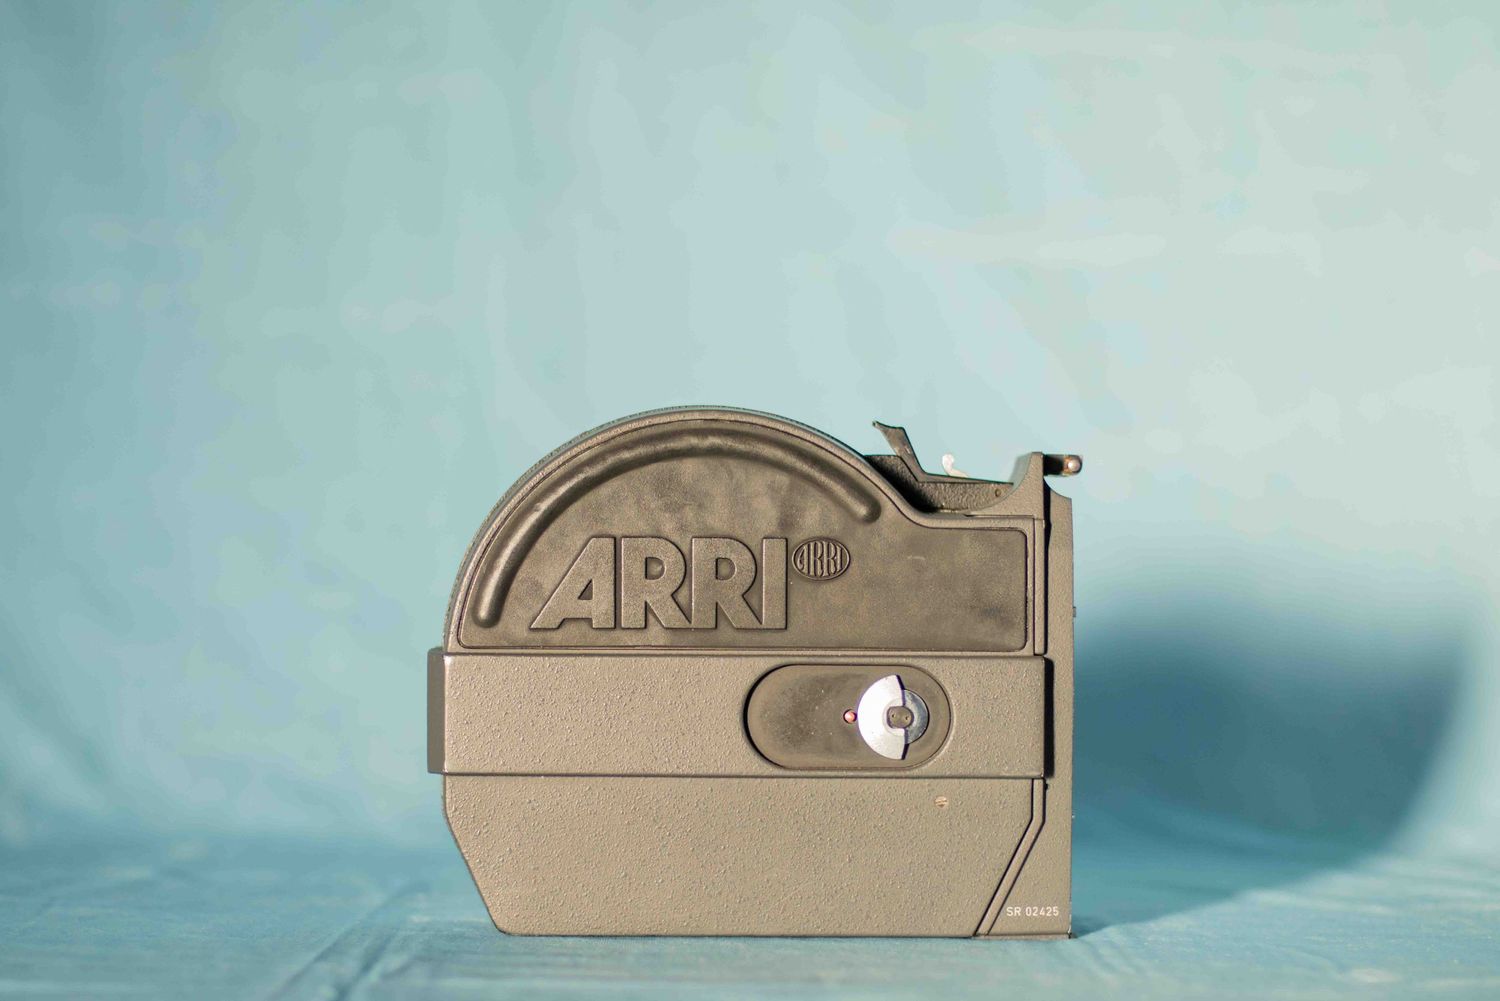
400' Coaxial Magazine
The SR magazines can hold 400' reels of film. The magazine simultaneously feeds and takes-up film as its being exposed. This operation makes for a compact and pretty evenly distributed system in terms of weight.

There are hinged knobs on both sides of the magazine and little red safety buttons that must be pressed in order to twist the hinge and open the door.

Feed Side
Film is placed onto the core adapter and fed through a window in the magazine.
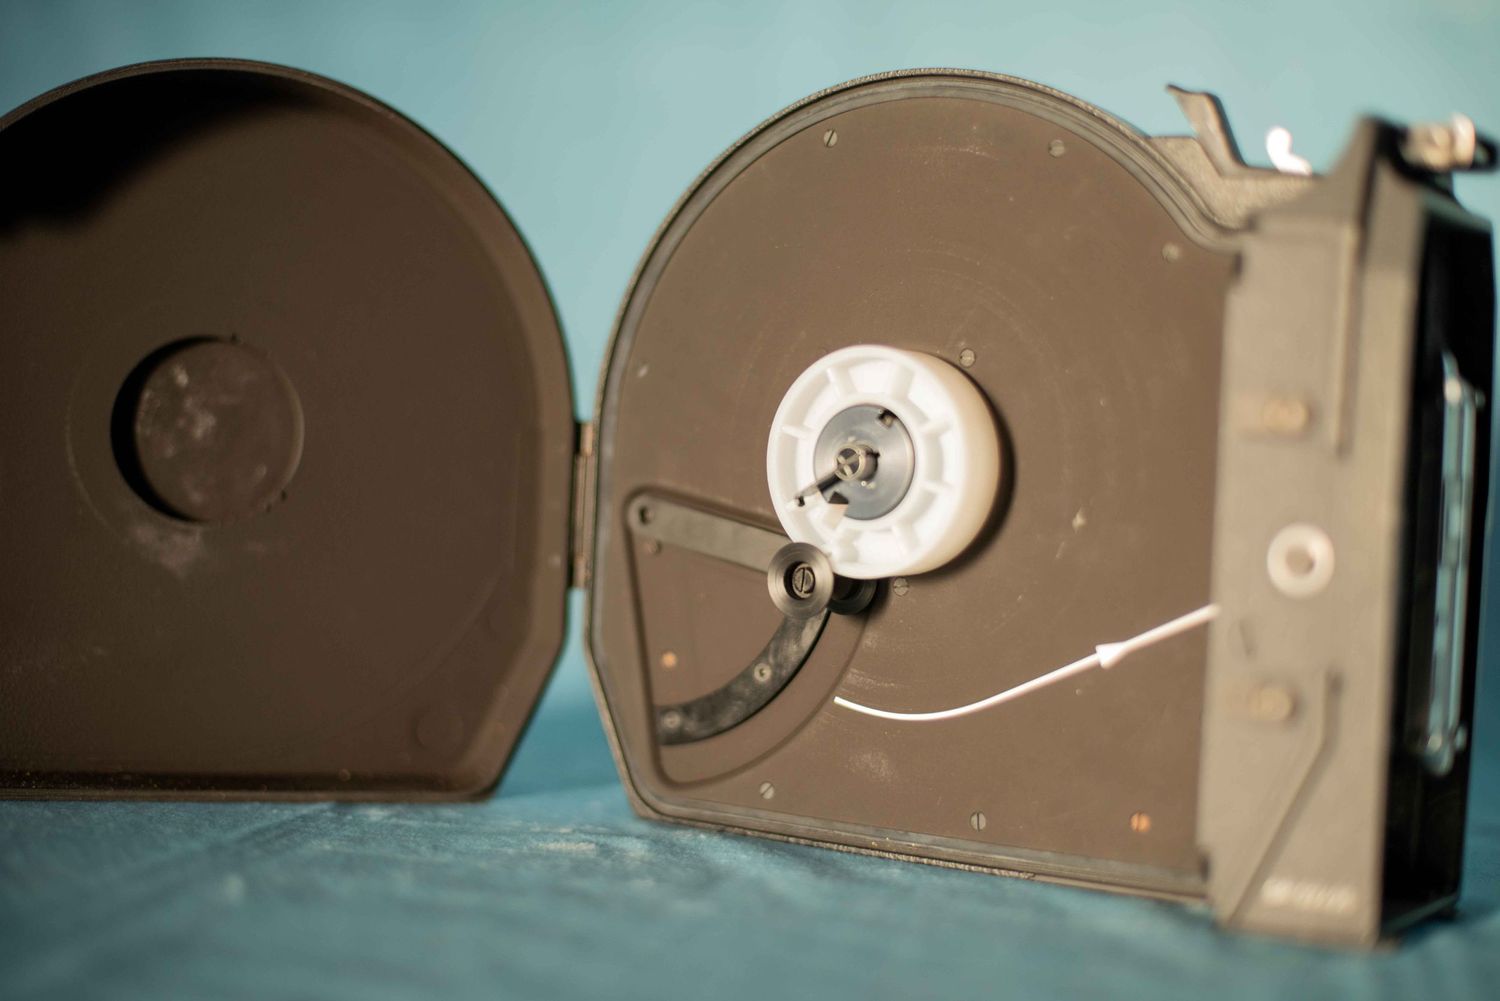
There is a guide roller that closes onto the film to keep it steady in place.
(The core adapter needs to be removed in order to load 100' daylight reels).

Loop Length Marker
Before reaching the take-up side, the film is measured to a specific length, provided by a line on the underside of the magazine. This ensures proper loop size, and optimal perf-ormance. (film joke, moving on). .

Throat
The film is then fed through an opening in the front of the magazine throat toward the bottom right side. The film will catch and the sprocket wheel will turn if done properly. It's important to never force film through as this could create new perforations in the film and damage it.

Take-up Side
The film is comes through to the take-up side where the end is inserted into the collapsible core and clamped down.
A few revolutions are recommended to pull the film tight around the core.
There is a guide roller on this side as well.

Pressure Plate
After the film is secured on both sides, the loop needs to be set within the film guides on the pressure plate to keep it aligned on the correct path.
The pressure plate is exactly what it sounds like. It holds the film against the camera body at the correct pressure to ensure image stability and smooth movement.

Footage Counter
This tracks the amount of film shot, and is pretty accurate, if you remember to reset before closing the take-up side.
Luckily, there's another way to gauge how much film is left on the back of the magazine.

Footage Window
The guide rollers inside the magazine correlate with the film as it grows/shrinks in size. The footage window reflects this change to general accuracy and allows you to see how much film you have left to shoot.
Attaching to the Body
After film has been loaded, the magazine can be attached to the opening in the body. It should be inserted at an angle. It slides in and should be placed down gently, not slammed.

There is a safety locking lever on top of the magazine that prevents it from being removed.
Once the magazine is in place, the test button should be pressed to slowly advance the film until there's an audible click, meaning the pulldown claw has successfully engaged the first perforation and you're ready to roll!

15mm Rod LWS
The Lightweight Support attaches to the camera body via a cold shoe style mount. The 15mm rods cannot be removed from the base of the LWS. They can be used for mounting accessories like a follow focus, lens support, or a matte box.

Third-Party Accessories
The SR2 has one mounting point on the top handle and that can make integrating the camera into more modern filmmaking scenarios difficult. Today, most cameras use a "cage" to provide protection and additional mounting points for various systems and rigs. However, the SR2 was made in the 80s and a cage was never developed.

Luckily, there's still a demand for film, and people are innovating new things to help integrate old 16mm cameras into the modern cinema world.
The top handle and side plate featured on my SR2 are from a Finnish company, Elokuva konepaja, which basically translates to movie machine workshop. Their website is can be found HERE, and you can use my affiliate code "nkosiroma" for 5% off most items.
That's a Wrap
This concludes my overview of the SR2, I hope you've gained some insight and appreciation for these beautiful machines. I will be posting a loading tutorial on my YouTube Channel in the near future, so head on over and subscribe so you don't miss out!
